If you’ve decided to create your own website using WordPress, you’re off to an excellent start. Unfortunately, as a beginner you may not be sure what your first steps should be, and you may worry that you’re in for a long, drawn-out setup process.
Fortunately, most web hosts now offer easy WordPress installation. With just a few clicks, you can have your WordPress site up and running in a matter of minutes. What’s more, this can all be done from your web host’s control panel.
In this post, we’ll first discuss the benefits of SiteGround as a web host, then walk you through how to install WordPress using their service. Finally, we’ll offer up some advice on what to do once WordPress is installed. Let’s get started!
Why You Should Consider SiteGround as Your Web Host
First, you’ll want to consider the web host you’ll choose. This is a perennial topic among WordPress site owners, due to the specific demands the platform places on a server. The good news is that there are plenty of excellent options, and narrowing them down won’t take you long given a little guidance.
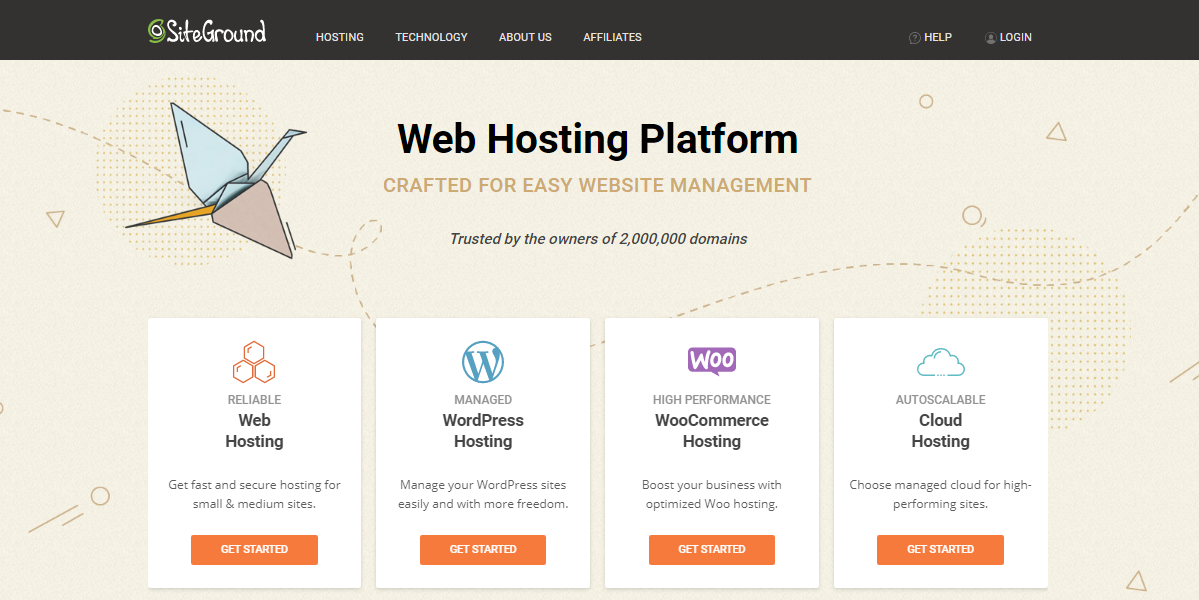
However, if you’re still struggling to decide on a suitable WordPress-specific host, we suggest considering SiteGround:

SiteGround is a full-service hosting solution that is recommended by WordPress and provides you with a wide variety of features and benefits. These include free site transfers, daily site backups, and round-the-clock support. What’s more, SiteGround offers a 30-day money-back guarantee, so you’re not risking anything by giving it a try.
Performance is vital for any web host, and this is another area that SiteGround excels in. When you choose SiteGround, you choose one of the best performing web hosts available. For example, it boasts a 99.99% uptime guarantee, which means your site will be available to visitors around the clock.
Let’s take a look at a few more of SiteGround’s main features:
- Easy WordPress install. As you’ll see in the next section, you can install WordPress through SiteGround within minutes.
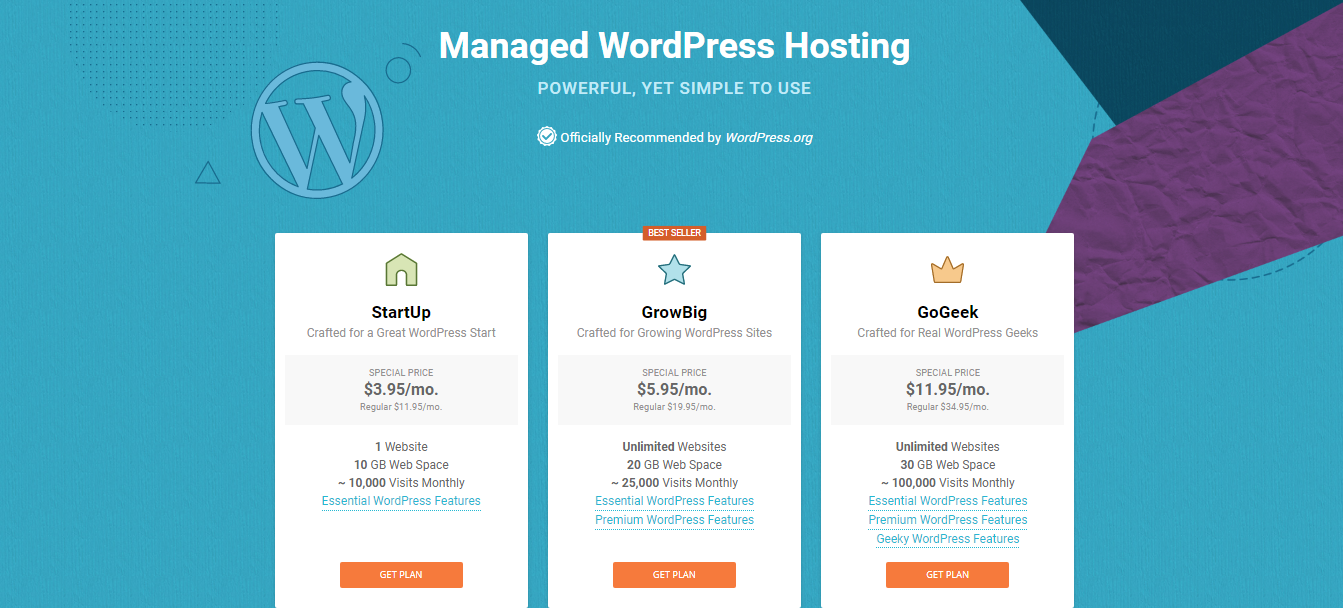
- WordPress-specific hosting plans. SiteGround has basic hosting plans, but also offers several plans that are targeted at WordPress users and include a range of useful features.
- 24/7 customer support. With live chat, telephone, and ticket options, you can choose the method of communication that best serves your needs.
- Extensive knowledge of WordPress. This is highlighted by the host’s various WordPress tutorials, not to mention its endorsement from WordPress.
- Dedicated WordPress tools. Aside from the WordPress installer, there’s also a staging environment and a software auto-updater.
SiteGround has much to offer, and is a solid choice for both beginning and advanced WordPress users. It’s also reasonably priced, offering WordPress hosting plans that start at $9.95 per month (with lower introductory rates).
Now that we’ve introduced SiteGround and made our case for why it’s a solid hosting option, let’s walk through how to install WordPress through this service.
How to Install WordPress on SiteGround
While we’ll be focusing exclusively on SiteGround throughout this section, we do want to note that the process here is very similar to the one you’ll go through for other popular web hosts. Therefore, these instructions can largely be applied to pretty much any WordPress web host.
First, you’ll need an active SiteGround account. To get started with the service, simply sign up for an account and choose a plan.
SiteGround’s basic package will be more than enough to get you started, and you’ll often come across promotions that slash upgrade prices considerably. Once you’ve signed up to your chosen plan, you’ll need to create (or transfer) a domain name. At this point, you’ll finally be ready to install WordPress.
From your SiteGround account, navigate to the My Accounts tab and select the red Go to cPanel button:
You’ll be greeted by a plethora of install and add-on options within cPanel, but right now simply scroll down to Autoinstallers and select WordPress. Alternately, you can navigate to WordPress Tools and click on the WordPress Installer:
On the next screen, you’ll see an overview about WordPress. Click on Install to the left of the Overview tab, and you’ll be brought to the installation settings page:
From here, there are a few things you’ll need to do to ensure the settings are properly configured. First, choose whether www will appear before your domain name in the web browser address bar. This is an important consideration, as it can have an impact on your site’s future technical abilities, so weigh up your options carefully:
Next, you’ll need to choose the domain you want to use for your WordPress install. If you only have one domain registered with SiteGround, it should be automatically selected. Otherwise, click on the drop-down arrow and make your choice:
Finally, head over to the Admin Account settings. SiteGround’s WordPress Installer autopopulates the Admin Username, Admin Password, and Admin Email sections. However, it’s a good idea to change these before proceeding, to ensure the utmost security:
The very last step of the WordPress installation process is to hit Install at the bottom of the page. With that, you’re all set. You can now navigate to your WordPress admin page, which is your new site’s web address with ‘wp-admin‘ added to the end (for example: http://www.yourdomain.com/wp-admin). Log in with the credentials you just created, and you’ll be taken to the back end of your site. Your WordPress installation is complete!
Of course, your work isn’t finished yet. In fact, it’s only begun. Now that your site is all set up, you can get started on the fun part of actually building and designing it. Most of what you do from here on out is up to you, but we do want to offer a few tips that should help kickstart the process.
What You Should Do Once You’ve Installed WordPress
Once WordPress is installed, you’ll likely wonder what your next steps should be. At the very least, you’ll want to make sure your site is safe and secure before going live. Fortunately, WordPress has plenty of ways to help you keep the undesirables at bay.
With this in mind, you should strongly consider the following tips:
- Choose strong login credentials. Your WordPress site’s first line of defense is its login credentials, and they’re absolutely essential for protecting your site against brute-force attacks and other common hacking methods. Length is the key factor in a strong password, although using a quality password generator (or WordPress’ own generator), and changing the default ‘admin’ username is often a great first step.
- Install a stellar security plugin. Unfortunately, no website is entirely safe from hacking attempts. However, while WordPress itself is secure, installing a security plugin such as Wordfence Security offers additional protection from undesirables. Two-factor security is also on the rise, and should become a key aspect of your site’s security.
- Install a backup plugin. Data loss or security breaches can happen to anyone, so it’s best to be prepared. That’s why backups are essential. Again, WordPress offers many plugins that do the job, but UpdraftPlus has a good reputation among WordPress users.
- Enable automatic WordPress updates. Part of WordPress’ commitment to security includes providing regular updates to the core code – and you should implement them whenever they’re released. While the only official way of enabling automatic updates on your WordPress site is from your WordPress dashboard, some hosts such as SiteGround offer an auto-update feature.
Of course, you’ll also want to make sure your site looks good, and has any relevant functionality you desire. With that in mind, you’ll want to install a suitable theme, and look into installing other essential plugins. This is where WordPress really shines, since plugins enable you to ‘bolt-on’ additional functionality such as Search Engine Optimization (SEO) and contact forms.
Finally, you may find that you’d like professional help to create your WordPress site, write awesome content, or market it effectively. If so, don’t hesitate to contact us directly. We’ll discuss your needs and requirements, and assist you in choosing the best options available. Building a website can be a big job, but you don’t have to go it alone!
Conclusion
When you’re creating a new website, the process can seem overwhelming at first. You have to set up your site, and before that you’ll need to install it to a web host.
Fortunately, many hosting providers have streamlined the process, meaning that it’s simpler than ever to install your WordPress site.
In this post, we’ve explained why SiteGround is an excellent option for your WordPress hosting, and we’ve shown you how to install WordPress using their auto installer feature.
What’s more, we’ve briefly touched on what to do once you’ve finished the install. Choosing a suitable theme, installing useful plugins, and making sure your site is safe and secure are crucial steps when creating your new site.
Do you have any questions about how to install WordPress with SiteGround? Let us know in the comments section below!


